Showing posts with label Dessert. Show all posts

Tuesday, April 12, 2016

Mocha Sheet Cake with Cappuccino Buttercream

In case anyone wasn't aware: I love coffee. I mean, I LOVE it. I drink it day in, day out. Yes, it's partially a minor caffeine addiction... But I just really, really love it. The smell as it brews... the happy sound of the coffee maker... and of course, that delicious flavor. Yep, I love coffee.

And of course, I love cake. Because who doesn't love cake? 

So when I found a recipe for cake made with coffee - not to be confused with coffee cake, which is a separate, wonderful thing - but actual cake with actual coffee in the batter,  I knew I would love it.

But here's the truly wonderful part: this is a cake that appeals to even non-coffee drinkers. You know, those bizarre people who are in denial about coffee's unmistakable appeal. Like The Husband. He does not like coffee. Never has. And yet, he loves this cake. So, I can reassure all you (strange) non-coffee people out there: This cake is even for you.


This is a perfect casual dessert for feeding company or taking to a pitch-in... anywhere you're feeding a crowd. Because this is a total crowd-pleaser. (See what I did there?)


Mocha Sheet Cake with Cappuccino Buttercream
From Country Living magazine, 2009
Makes: 15x10" cake

For the cake, you'll need:
1 c butter
1 c strong brewed coffee
1/2 c unsweetened cocoa powder
2 c flour
2 c sugar
1/2 t salt
1/2 c sour cream
2 eggs
1 t baking soda
1 t vanilla extract

For the frosting, you'll need:
5 T butter, softened
1 lb (4 c) powdered sugar
3 T strong brewed coffee, room temperature
1 T milk
1 t vanilla extract
shaved chocolate, chopped semisweet chips, or miniature semisweet chips, for garnish

We start with two of my favorite activities: softening butter and brewing coffee.


Set out 2 sticks plus 5 tablespoons, and brew at least a couple cups of coffee (so you can enjoy some too, of course). Set aside 3 tablespoons to cool, measure 1 additional cup, and drink the rest.


Preheat the oven to 375 degrees. Pour the 1 cup of coffee into a medium saucepan* and add the two sticks of butter (they don't really have to be soft) and the cocoa powder.

*Use medium or large, and it's best if it does NOT have a nonstick finish, since we're going to use an electric mixer in just a minute.


Over medium heat, melt the butter and bring the whole mixture to a boil, whisking occasionally.


Once it's reached a boil and fully mixed, remove from heat and stir in the flour, sugar, and salt.


Get out your electric mixer and beat the batter on medium speed for about a minute.


Add the sour cream, baking soda, eggs, and vanilla...


... and beat on medium for about 1 minute longer. Pour into a 15 x 10 x 1" pan (or similar) that has been lightly sprayed with nonstick cooking spray.

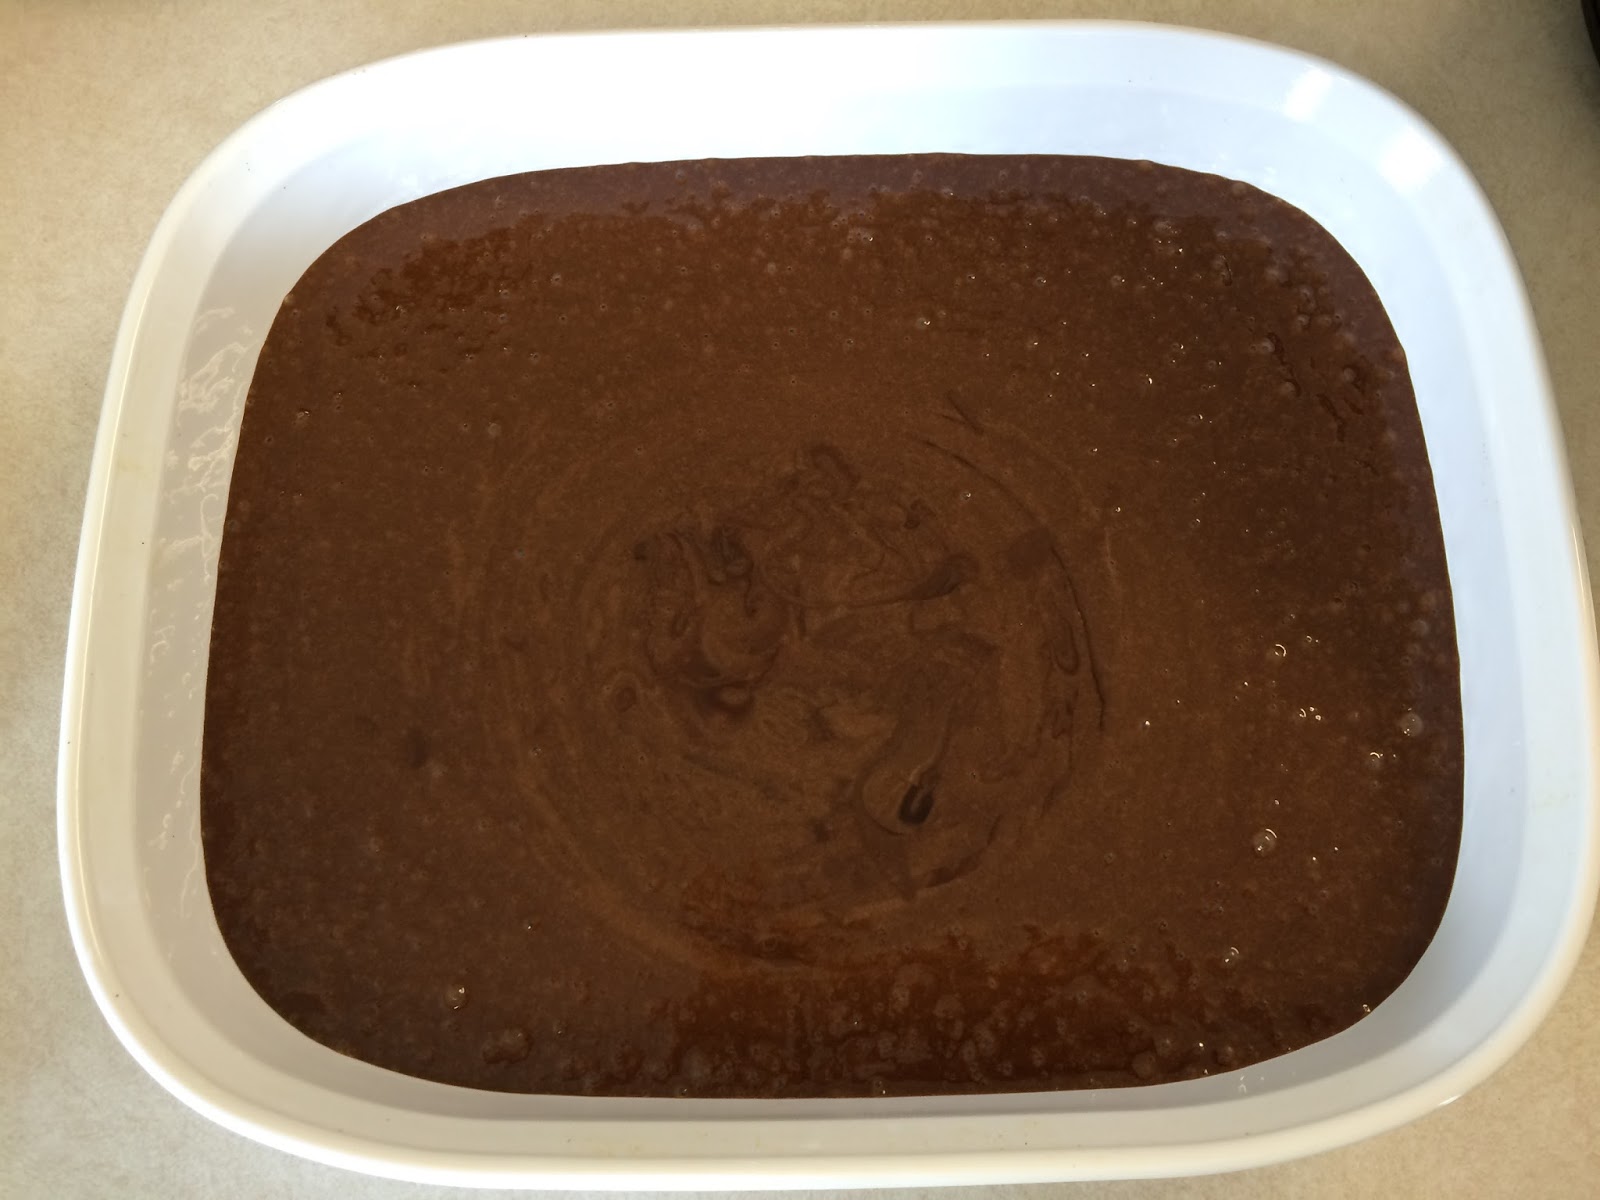

Bake at 375 degrees for 23-25 minutes, until a toothpick inserted near the middle comes out dry. Allow the cake to cool completely before frosting.


So, take a break, eat some lunch or something while the remaining butter finishes softening...

... And now let's make the buttercream.

Beat the softened 5 tablespoons of butter with an electric mixer on medium speed until it's light and fluffy. Beat in the powdered sugar alternately with the coffee and milk. Beat in the vanilla. You can adjust the consistency by adding 1-2 teaspoons of milk.


This stuff is RIDICULOUS.

Spread it all over your cooled cake.


Garnish with mini chips, shaved chocolate, etc.... some pretty little chocolate crunch on top.


Ta-da! A coffee-lover's cake that's perfect for coffee drinkers and non-drinkers alike.


And I'm pretty sure it would go great with a cup of coffee.

Saturday, March 26, 2016

Cut-Out Cookies

Every family has its iconic recipes. Grandma's lasagna, Great Grandma's noodles & gravy, whatever the case may be: they become part of a family legacy, handed down to new generations, wrapped up in years' worth of wonderful memories. For me, this is one of those recipes. It was a true rite of passage for me when I could make sugar cookies just like my mom. This is another cookie that she always made at Christmastime, and every year, it just doesn't feel like December until I've had some homemade fudge and a sugar cookie. Year after year, my sisters and I got to help with rolling out the dough, cutting out the cookies with the cookie cutters, and decorating enough sugar cookies to feed the neighborhood. My mom, shuffling cookie sheets in and out of the oven. My sisters and I, arguing over the placement of the cookie cutters and sneaking bites of dough when my mom wasn't looking. (My dad, watching basketball.) And it's not just a matter of nostalgia; these are the best sugar cookies in existence. They are light, soft, and fluffy. And depending on what cookie cutters you own, there's absolutely no reason to wait until Christmas to make some. Case in point: I adore making these for Easter.


Delicious, bright, and festive. Simple and fun to make.


Sugar Cookies
From: My mom's sister's husband's mom... so, my aunt's mother-in-law, Mom Meyers
Yield: 80-100 cookies. This is not an exaggeration! Pictures above are of a half-recipe and there were 47 cookies. This is dependent on (a) the size of your cookie cutters and (b) how much dough never makes it to the oven...

You'll need:
2 c sugar
1 c shortening
2 eggs
1 c milk
1 tsp vanillla
1 t salt
1 t baking powder
1 t baking soda
5 c flour, plus LOTS more for rolling out the dough

Preheat the oven to 350 degrees. Cream the shortening and sugar.


It always makes me think of snow.

Beat in the eggs, milk, and vanilla.


Gradually add in all the dry ingredients, adding more flour if needed.


I usually end up adding more flour - at least half a cup more for a full recipe. It's one of those "you know when it looks and feels right" things. The dough should be stiff but sticky. Err on the side of not adding enough flour; you can always add more, and plenty more will get mixed in as you roll out the dough.

Put a big hunk of the dough (about 1/4 recipe) on a VERY WELL FLOURED surface.


Flour the top of the dough and your rolling pin, and gently roll it out to about 1/4" thickness or slightly thinner, always working outward from the center of the dough.


You'll know if you didn't add enough flour, because your dough will stick to everything. Flour your cookie cutters if you're using metal, and start cutting cookies. Use the dough as efficiently as possible, because every time you collect the scraps and roll them out again, you're adding more and more flour, and you can only do that so many times before the texture gets funny.


Put your cookies on an ungreased cookie sheet and bake one sheet at a time. How long you bake them is entirely dependent on the thickness and the size. If you have a mixture of small and large cookie cutters, put all large or all small on one cookie sheet and adjust your baking time. I rolled the dough to about 3/16"and used fairly large cookie cutters, and my cookies were done in 6 minutes. You'll know they're done when they look like this:


The tops are completely dry and the bottom edges are just turning golden brown. Doesn't that just make your mouth water? Don't over-bake them! The best part about these cookies is how soft they are; drying them out in the oven would be a crime. Remove them immediately to wire racks to cool.


Collect up all your scraps - and - EAT A BITE OF THE DOUGH. My mom would be scolding you about the dangers of eating raw cookie dough and food poisoning. However, I, who have never had food poisoning, have no qualms at all about telling you to eat some. This is the best raw cookie dough I've ever had, including chocolate chip. I usually end up dancing around my kitchen because it is just that good. But where were we?


Collect up all your scraps, grab another hunk of dough, smash them together with your hands, re-flour EVERYTHING, and do it all over again. Yes, it's a bit time-consuming, but if you're good at multi-tasking you can be filling one cookie sheet while the other is baking. Or - even better - you make these with your spouse, friends, or children, and split up the jobs. Roll up the scraps and cut, roll up the scraps and cut, roll up the scraps and cut, until you can't get any more cookies out of it.

Eat the rest of the dough.

When everything is baked and cooled, it's time to decorate. Some sugar cookies are loaded up with thick, heavy icing. However, all we ever put on these is a very, very simple glaze: powdered (confectioner's) sugar, water, and food coloring. (And sprinkles, just for fun.) If you have worked with powdered sugar before, you'll notice that it doesn't take much liquid to soak up about a cup of powdered sugar, so when you're mixing your icing, add the water - literally - a few drops at a time, or else you'll find yourself adding another cup of sugar to the bowl. (I do it every time.) Make it just stiff enough that it doesn't run off the cookies, and go to town.


Let the icing harden for a few hours before you pack them up. Put wax paper between the layers. These cookies stay soft and fresh for a very long time, which is a good thing since there will be so many. 

These are fun to cut out, fun to decorate, and even more fun to eat. I'm now teaching my own daughters how to ideally place cookie cutters and making sure they don't eat too much of the dough. I hope this recipe is something special for your family. And have a wonderful, happy, blessed Easter!

Sunday, March 20, 2016

Buttercream Icing

This is the follow-up recipe to last week's chocolate buttercream icing. More real food, brought to you by a half-dozen ingredients and whipped together in about three minutes. 


This is no-fail, works-every-time, perfect-for-dying-and-frosting, eat-by-the-spoonful, real buttercream. 


You can dye the white frosting with traditional liquid drops to achieve beautiful pastel colors...


... or buy the food coloring gels for those intense primary colors.


Buttercream Decorating Icing
From: My mother-in-law, Carol
Makes: 3 c. (which is plenty to ice and decorate an entire cake. Carol also says that half a recipe will ice 24 cupcakes.)

You'll need:
1/2 c butter, softened
1/2 c shortening
1 t vanilla
1/8 t salt
1 lb (4 c) confectioner's (powdered) sugar
3 T milk

Cream the butter and shortening: beat them together on medium speed until well combined and fluffy. Add the vanilla and salt. Beat in the powdered sugar and milk and beat at high speed until the icing is light and fluffy.

And ta-da. Better living through real food. Now go eat your cake.


Monday, March 14, 2016

Peanut Butter Cup Pie


Happy Pi Day!

Pi Day is a holiday of epic proportion in the Husband's office, with each employee contributing to the festivities. But it doesn't matter what kind of pie those other people made. This year, mine takes the cake. (Pie?)


There is is. A peanut butter pi masterpiece.


And beneath the shiny chocolate exterior? Creamy peanut butter filling and Oreo crust. Ready to dive in?

Peanut Butter Cup Pie
Adapted from Kraft magazine
Makes: One 9" pie

You'll need:
1 (8 oz) package of cream cheese, softened
1/2 c + 1 T peanut butter, divided
1 c milk
1 (3.4 oz) package instant vanilla pudding
2 1/2 c thawed Cool Whip, divided
3 oz semisweet baking chocolate
1 oreo pie crust

Yes. I cheated. I used a pre-made crust. I don't feel great about it, but it is what it is. Let's move on.

Beat your soft cream cheese and 1/2 cup of the peanut butter until well blended. Add the pudding mix...


... and the milk. Beat on slow for a few seconds to incorporate the liquid, then beat on high for about two minutes. (Don't go directly to "high" unless you want to wear some peanut butter. Although the Husband did say that I smell good.)


Gently fold in 1 cup of the Cool Whip.


Turn the filling into the pre-made crust...


... and spread it smooth.

I forgot to take a picture. Use your imagination.

Put it in the fridge to start chilling. 

In a small bowl, place the baking chocolate and remaining 1 1/2 cups of Cool Whip, and put it in the microwave.

What?! 

Yes. I know this seems weird. Especially since the Cool Whip label literally says "DO NOT MICROWAVE." The first time I made this was a bit of a trust exercise. Just hang with me for a minute.

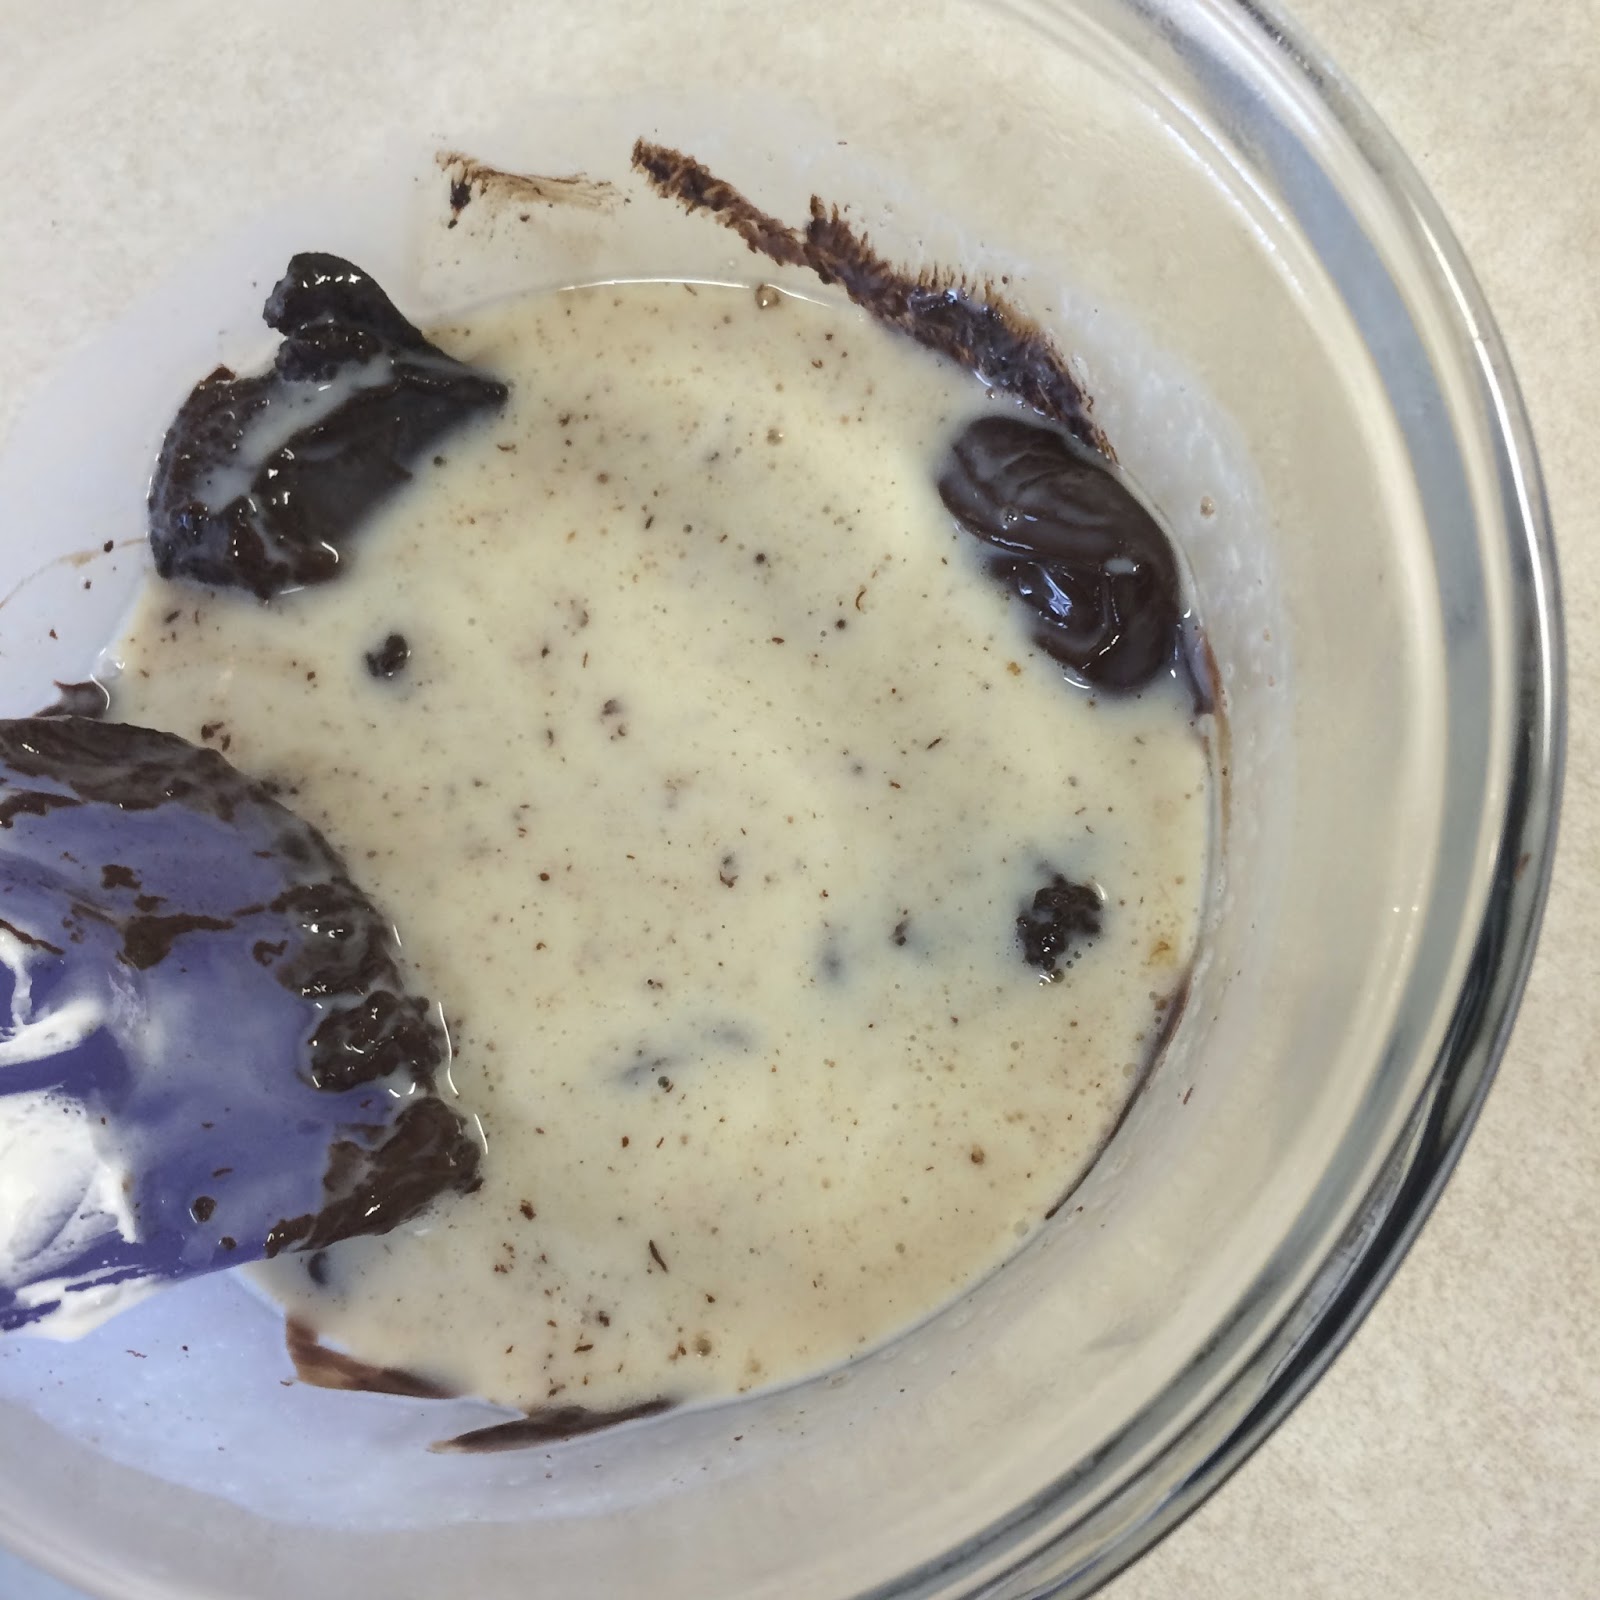
Microwave it for 1 minute. It will now look like this.


Appealling, right? The Cool Whip collapses into a puddle. But start stirring...


... and it becomes a smooth, chocolate gel. Microwave an additional 15-30 seconds if you still have lumps of chocolate, and stir til smooth. Let it cool for a couple of minutes, and as soon as it's no longer hot, pour/spread it over your pie.


Glistening chocolate. Aaaah. And we're not even done yet.

Put that last spoonful of peanut butter into a microwave-safe bowl and microwave for 30 seconds. Use a spoon to drizzle it artistically over your pie, OR spoon it into a piping bag and decorate.


Easy as pi. Refrigerate for at least 4 hours before serving so the filling is nice and stiff. 

Have a wonderful Pi Day!

Sunday, March 13, 2016

Chocolate Buttercream Icing

In case my position wasn't clear, I'm a big fan of real food. I'm not adamant to the point of madness. I'm not on a crusade against processed foods. I still love Cheetos and Diet Mountain Dew. But I do believe that making as much of your food as you can from real ingredients (1) is better for you and (2) just plain tastes better. One of the best examples? Buttercream frosting.


Now. I'm not trying to brag, because I didn't come up with this recipe myself. But I have only tasted frosting better than mine a few times in my life. I'm perfectly serious. That stuff on the grocery-store-bakery cake and in the jar on the shelf on the baking aisle simply cannot compare to real, homemade buttercream. For every birthday cake, I get rave reviews and people wanting to know my secret. There's no secret. Just real food.


That stuff in the jar? It contains preservatives, artificial flavors, and some stuff I can't even pronounce. This recipe? Five ingredients. And about five minutes. 


Real food. And seriously the best buttercream you've ever had.


(Also... I love decorating cakes.)  :)

Chocolate Buttercream Icing
From: Hershey (I believe the recipe was, at one time, printed on the baking cocoa label)
Makes: 3 cups (enough to generously frost a 9 x 13" cake OR two 8" or 9" round cakes)

You'll need:
6 T SOFT butter*
Cocoa: 1/3 c for light flavor
            1/2 c for medium flavor (this is what I usually use)
            3/4 c for dark flavor
2 2/3 c powdered sugar
1/3 c milk
1 t vanilla

*Softening the butter ahead of time is key. If your butter is melted, the texture will be off, and if your butter is cold, you'll get lumps of butter in your icing. Just set your butter on the counter for a few hours before you start.

Beat the butter on medium speed until fluffy.


Beat in the cocoa and powdered sugar alternately with milk, using only as much milk as necessary to get a nice spreading consistency. (I typically use all the milk because soft icing spreads easier.) Make a powdered sugar mess on your counter and on the dog who's lurking at your feet. Blend in vanilla.


Lick beaters. And spoon. And another spoon. And bowl.


 Use a silicone or metal spatula to spread icing onto your cake, cupcakes, or a graham cracker. (Try it!) Freeze your leftovers for another day. (That is, if you have any left over.) And for more fun with real food, check out my original buttercream icing recipe.


Enjoy!