Showing posts with label Bread. Show all posts

Thursday, May 19, 2016

Bagels

This is my new favorite thing.

Okay, let's be honest: I have a lot of favorite things, and most of them are food (or drink). But making bagels really is one of my favorites.


They're just plain fun to make. Oh, and the fact that they make your house smell like a bakery?


Get outta here.

Why, someone may ask, would a person go through the trouble of making bagels when one could simply buy them at the store? (Besides the fact that it's fun!) Yes, it takes a little time and effort. So here's the rationale (this may sound familiar):

1. No unpronounceable ingredients, no preservatives. Just real food.

2. BIG cost savings. Buying 12 bagels at the grocery store can easily run upwards of $6, and forget about bakery-fresh ones. But making them yourself? You can make a dozen for - wait for it - less than $1.

Yes. I did the math. $1.

(Cream cheese not included.)

3. They taste Uh. May. Zing.

So, in summary, real food that tastes better and costs less. Who would say no to that?

Bagels
Adapted from here and here
Yield: 8 to 12 bagels
Total time: about 3 hours

For the dough, you'll need:
1 1/2 c warm water
1 T dry active yeast
1 T brown sugar
2 T honey
2 t salt
4 c flour


For the water bath, you'll need:
about 1 qt water
2 T brown sugar
1 T sugar

For topping you'll need:
1 egg white
1 T water
cinnamon sugar, coarse salt, poppy seeds, etc. for optional toppings

Put the 1 1/2 cups warm water in the bowl of a stand mixer and sprinkle the yeast on top. Let it stand for 2-3 minutes so the yeast can bloom. Next, add the brown sugar, honey, salt, and flour. Using the dough hook attachment, mix on low for a minute or two until well mixed.


Pause, scrape the sides with a spatula, and then turn the mixer on medium-low and allow it to knead the dough for 10 minutes. The dough will be sticky but smooth and elastic.

(Note: If you don't have a stand mixer, you can easily do the first phase of the mixing with a sturdy hand mixer on low speed, transfer the dough to a floured surface, and knead it by hand. However... Oy, what a workout!)


Oil (or spray with nonstick cooking spray) a large bowl. Place the dough in the bowl, turning once to coat the dough with oil. Cover with a towel and allow the dough to rise for an hour and a half (90 minutes).


The dough should double in size.


Turn the dough out onto a floured surface and divide it into 8 to 12 pieces. Decide what you want to end up with: 12 smallish bagels, 10 medium bagels, or 8 large bagels. Just try to make them all the same size so they'll bake evenly. Form each piece into a ball. I do this by folding all the corners underneath and pinching them together.


Space the dough balls out on the floured surface (they're going to rise some more) and cover with a towel for about 30 more minutes. These...


... will now look like this.


During that time, prepare the water bath by placing the water, sugar, and brown sugar in a large, wide sauté pan, sauce pan, or wok and bring it to a steady simmer.


During this time, you should also prepare your baking sheets by laying parchment paper on them or lightly greasing them. If you're making 8 bagels, you may be able to crowd them onto one baking sheet, but for any more, spread them out over two sheets. Preheat the oven to 400 degrees.

When the 30 minutes are up and your water is simmering, it's time to shape bagels. Flour your fingers and then gently poke a hole in the middle of the dough. Without crushing the dough, gently pull the dough outward to stretch the hole to about 1.5-2 inches in diameter.


Then place it gently in the water bath. (Please don't splash yourself with hot water.) Add another bagel or two to the water bath (whatever will fit in your pan) and simmer for about 2 minutes.


The bagels should puff up a bit. Flip them over gently (don't splash!) and simmer about 1 more minute.


Remove the bagels to your prepared baking sheets, and repeat with the rest of you bagels, working in batches.


Finally, beat together the egg white and water and brush lightly over the bagels. Then sprinkle them with any toppings you wish, like poppy seeds or cinnamon sugar.


At last: time to bake! If you made 10-12 smaller bagels, bake them for 18-22 minutes; for larger bagels, add 3-4 minutes. If your oven has hot spots, be sure to rotate the pans so you don't burn the bottoms.


And now that your house smells like a New York bagel shop, I double dare you not to immediately rip into one of these. But seriously, cool them on racks for at least 5 minutes before slicing.


Store in a sealed container at room temperature for up to a week, or slice, seal in something airtight, and freeze. (None of ours have ever made it to the freezer.)


The Bug says... "Mmm... Bay-bels!"


Tuesday, April 5, 2016

Chocolate Chip Banana Muffins

You know what's even better than warm, sweet banana bread?

Muffins!


Because everything is better when it comes in an adorable single-serving-size wrapper.

Also, baking banana bread takes about an hour. But muffins? Less than 20 minutes.


Which is so quick that even I could pull it off in the morning.

Chocolate Chip Banana Muffins
Adapted from Land O'Lakes with some help from my sister
Makes 12-18 muffins

You'll need:
3/4 c brown sugar
1/2 c butter, softened
2 eggs
1/2 t vanilla
2 bananas, smashed
1/2 t salt
1/2 t baking soda
1 1/2 c flour
1 c semisweet chocolate chips OR 1/2 c each semisweet chocolate chips and chopped walnuts

Preheat the oven to 350 degrees. Cream the brown sugar and butter until well mixed.


Next, grab a fork and mash those bananas thoroughly.


Add the smashed bananas, eggs, and vanilla to the butter & sugar and mix on low speed.


With the mixer still on low, add the salt, then baking soda, and finally the flour, pausing to scrape the sides of the bowl as needed.


Use a spoon or spatula to stir in your chocolate chips (or chips and nuts).


Spoon into 12-18 muffin papers (depending on how large you want your muffins).


Bake at 350 degrees for 18-20 minutes, until an inserted toothpick comes out dry. Unless, of course, it hits one of those gooey melted chips...


Cool on wire racks for a few minutes.


Serve with milk or coffee for a warm, sweet, sticky breakfast.


Saturday, March 5, 2016

Pumpkin Bread

I absolutely love homemade breakfasts that can be prepared the afternoon or night before because, well... mornings are not my thing. I can muster the energy for oatmeal or toast on a school day, and pancakes or muffins on the weekend, but getting up at 6 to bake... Let's just say I have other gifts, and early-morning baking (or early-morning anything, really) is not on the list.

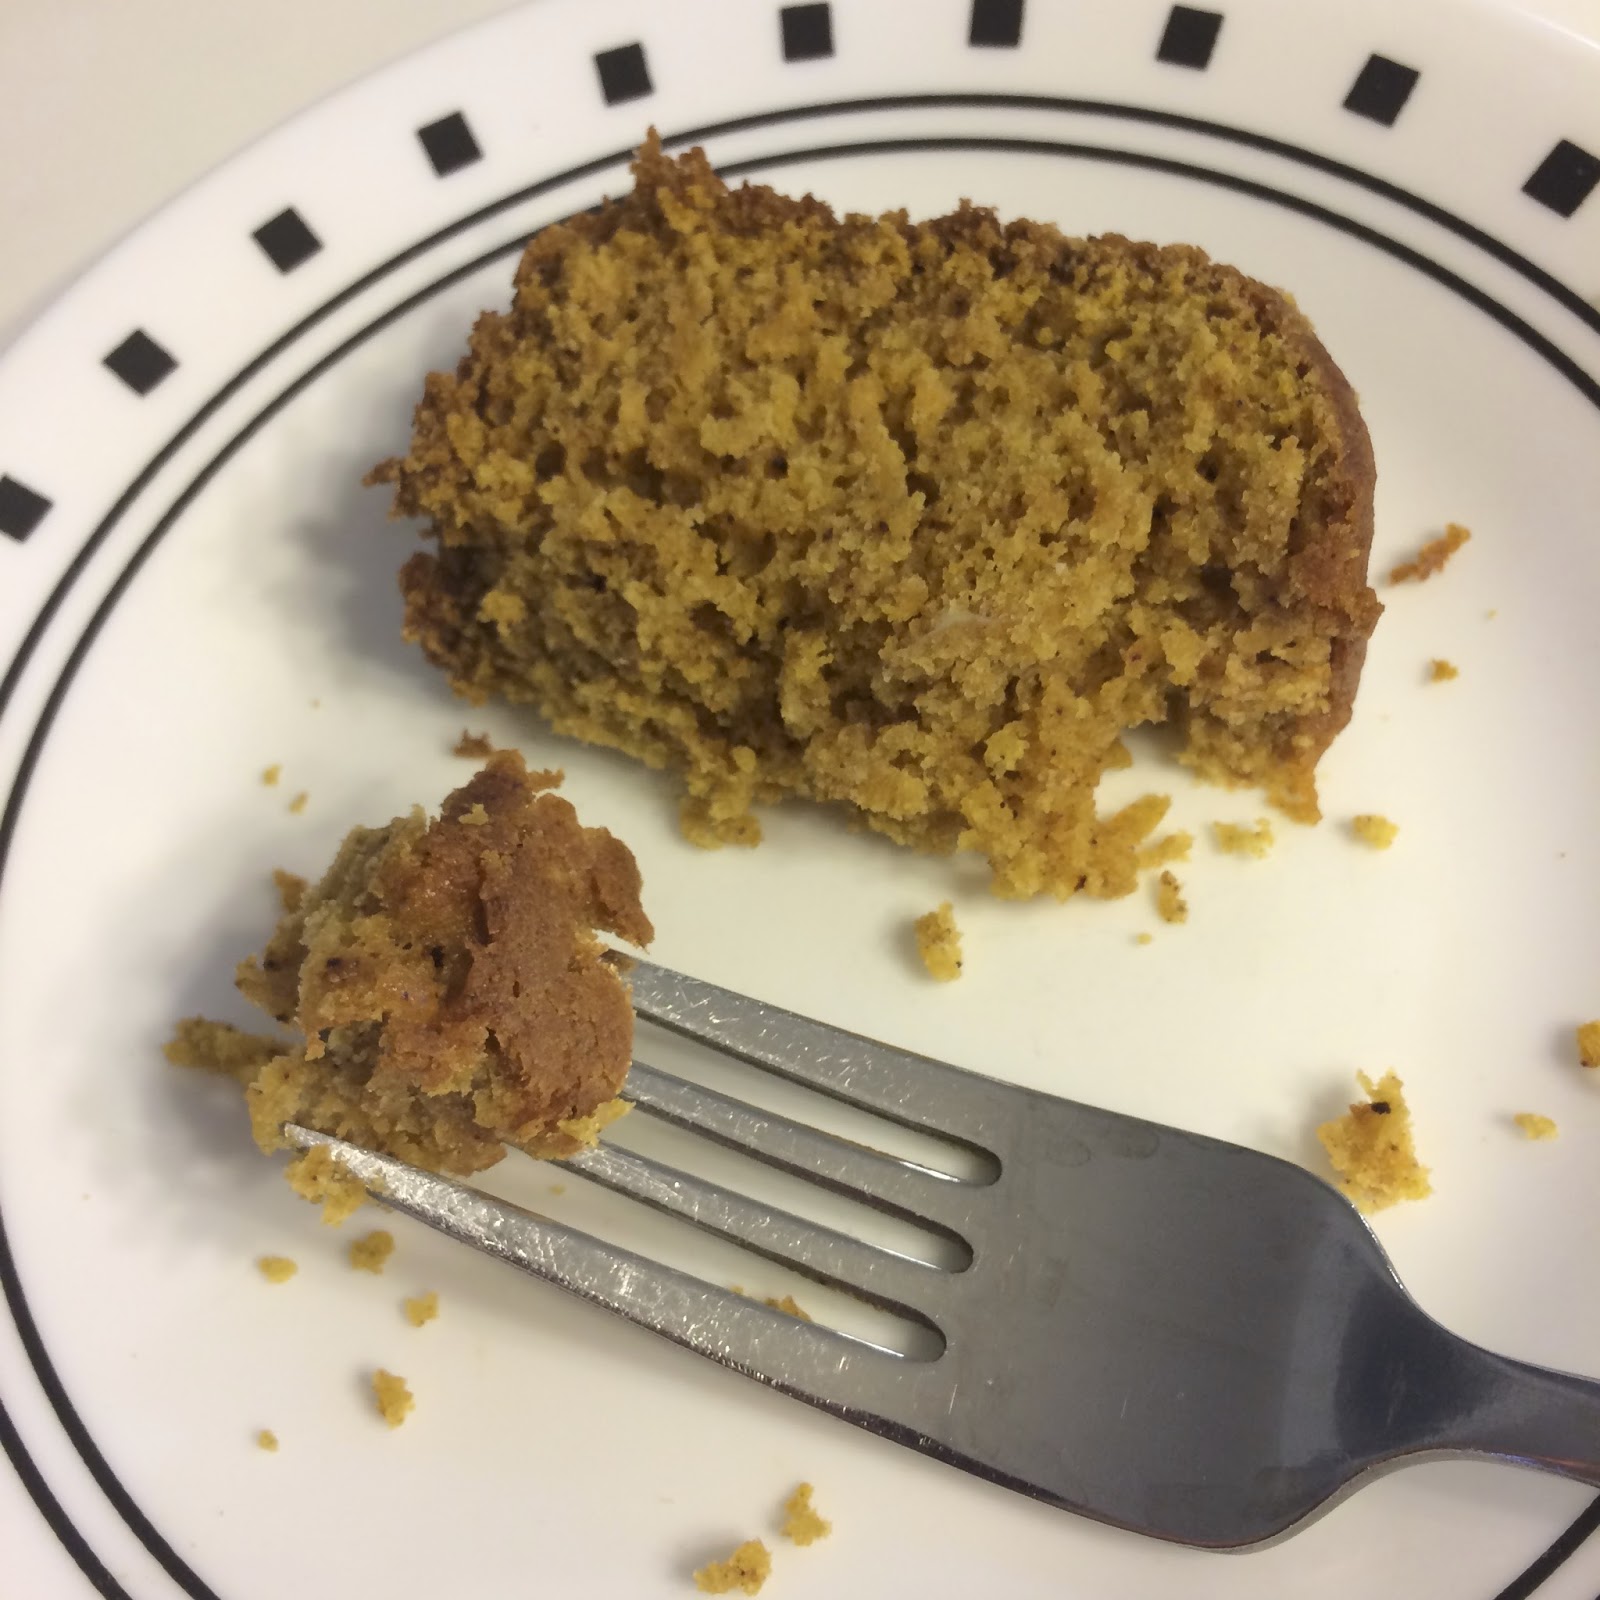
Which brings me back to bake-ahead breakfasts, like this soft, delectable pumpkin bread. I'm sure everyone has had a bad experience with some kind of quick bread: maybe a Christmas gift from a well-meaning neighbor, maybe it showed up at a pitch-in... and initial excitement gives way to disappointment as you realize it is less than flavorful, and often so dense and dry that it sucks all the moisture from your mouth. Oftentimes people cheat by throwing in chocolate chips in the hopes of resurrecting a bad recipe. (Chocolate chip banana bread... chocolate chip zucchini bread... chocolate chip pumpkin bread... You get the idea.) And while normally I'm in favor of adding chocolate to almost anything, this recipe doesn't need it. So soft, so moist, so delicious, substantial without being dense... This is what a quick bread is supposed to be.


Pumpkin Bread
From: Grandma Esther
Makes: one 9 x 5" loaf

You'll need:
1 3/4 c flour
1 t baking soda
3/4 t salt
1/4 t baking powder
1/2 t cinnamon
1/2 t ground cloves
1/3 c shortening
1 1/3 c sugar
2 eggs
1/2 can (approx. 15 oz can) canned pumpkin (NOT pumpkin pie filling) (see note)
1/3 c water

In a small mixing bowl, combine the flour, baking soda, salt, baking powder, cinnamon, and cloves, and mix well. Set aside.


In a mixing bowl, using an electric mixer, cream the shortening and sugar. I always think... "snow!"


With the mixer on low, blend in the eggs, pumpkin, and water, scraping sides as needed.


Add the dry ingredients by stirring them in OR using the mixer on its lowest setting for a few seconds and then finish by manually stirring. Do NOT overmix the batter.


Pour into a well-greased loaf pan and spread evenly.


Bake at 350 degrees for 55-65 minutes, until a toothpick inserted in the center comes out dry.


Cool in the pan for 10 minutes. Run a knife or thin spatula around the edges, then remove from the pan and cool completely on a wire rack.


Note: if you don't want to make two loaves at a time, just put the other half of the can of pumpkin in a resealable bag or container and freeze it. Just make sure it's thawed completely before using it to bake.


Store at room temperature in a sealed container.

Monday, February 29, 2016

Pizza Dough

This is a great recipe from my great friend, Chrissy. I use it for lots of varieties of pizza and calzones. Start to finish, it only takes about an hour, doesn't need to be kneaded (see what I did there?), and you don't need any special equipment - just measuring cups and a spoon.


It's nice and dense and always bakes great: crusty on the outside, soft on the inside.


Pizza Dough

Makes: 11x14" pizza OR 12" round pizza OR one large (family size) calzone OR 8 small calzones

You'll need:
2 t active dry yeast
1 c warm water
1 t sugar
1 t salt
2 T olive oil (or vegetable oil)
2 1/2 c flour

Dump the yeast into the warm water and let it stand for 5 minutes. Don't bother stirring, because it'll pretty much dissolve itself. After 5 minutes, it looks like this:


Stir in the sugar, salt, and oil...


... and add the flour last.


Just stir with that spoon until it comes together into a ball.


Cover the bowl with a towel and let it stand for 15-20 minutes. Time to shape the dough.

If you're using something other than a pizza stone or a good nonstick baking pan, you'll want to grease the pan. This dough is quite sticky. You can spread it by just pushing it around with the back of a metal spoon, or grease your fingers and stretch it by hand, but the best option by far is a silicone dough roller like this one from Pampered Chef. It'll roll out that dough for you in about 30 seconds.


Sometimes having a specialized tool is TOTALLY worth it.

After shaping the dough and topping your pizza or filling your calzone, bake it at 425 degrees for 15-18 minutes.


Tip: Put some cornmeal on your pizza stone or greased pizza pan/cookie sheet, then slide your rolled-out dough on top, for a great crunch to your pizza.