Saturday, November 17, 2012

Southwestern Turkey Soup

Talk about dressing up leftovers! And just in time for Thanksgiving, too. After eating leftover turkey for the fourth day in a row, you may be looking for something else to do with all that meat. And if you like Mexican and spicy food like I do, you should give this a try. It's got fantastic flavor and quite a bit of spice, but it doesn't mask the awesome flavor of the turkey. Best of all, it's entirely turkey and vegetables, so your mouth thinks you're eating chili, but your waistline thinks you're eating vegetable soup!


Oh, and apparently I gorge myself on soup, because every time I make any kind, I end up with far less servings than what it's supposed to yield. This originally said 7 servings. I've eaten it twice and it's half gone... Hmm...

Southwestern Turkey Soup
From Taste of Home
Yields: Who knows? Somewhere between 4 and 7 servings, apparently

You'll need:
1 medium onion, chopped
1 tablespoon olive oil
1 (14.5 oz) can chicken broth
2 to 3 T diced jalapeno peppers (I used all 3, of course)
1 T ground cumin
1 1/2 t chili powder
1/4 t salt
1/4 t cayenne pepper
3 cups cubed cooked turkey (I like small pieces)
1 (15 oz) can black beans, rinsed and drained
1 (10 oz) can Ro-Tel (original)
1 1/2 c frozen corn
sour cream, cheese, tortilla chips, etc. to throw on top


In a large saucepan or dutch oven, saute the onion in the oil until tender. Stir in the broth, jalapenos, cumin, chili powder, salt, and cayenne and mix. Add the turkey, beans, Ro-Tel, and corn.

Bring to a boil. Reduce the heat, cover, and simmer for 20-30 minutes to let the flavors blend. Done.

I found it to be quite spicy (even for me) and it was very good topped with some cheese and sour cream to cool things off.


Chocolate Pie

Get ready to wow your friends and family. A chocolate pie, similar to French silk, topped with real meringue - and it's way easier than they think it is!

But they don't need to know that.

When I was a sophomore in college, one of my great friends taught me how to make her grandma's chocolate pie. I've translated that into an intelligible, (hopefully) easy-to-follow recipe, and here's the result.


Now, for this recipe, it's very, very important that you have your mise-en-place... That's a French term meaning "everything in place," or, "get your crap together before you start so you don't scald the milk while rummaging in your pantry for the vanilla." Something like that. So, get every ingredient out and open, get all your measuring cups and spoons out, and make sure that the dogs are out/kids are napping/phone is silenced/whatever you need to do to make sure you can concentrate for 10 minutes. It's not hard, but once you start, you can't stop!

Grandma's Chocolate Pie
From: Tosha's grandma
Makes one nine-inch pie

You'll need:
1/4 c flour
3 T cocoa powder
1 1/2 c sugar, divided
3 eggs
2 c milk
3 T butter
1 t vanilla
pie crust (bottom only)

I admit it: I use a pre-made crust. I know, that's totally cheating. And I do make real pie crusts sometimes. Just not this time. I have used both traditional (pastry) crust and graham cracker crust, and they're both good, although I think I prefer the traditional one. *Your crust needs to be baked before you start making the filling.*

Okay. Got everything ready to go? Let's get started.

Step 1: In a bowl, mix the flour, cocoa, and 1 cup of the sugar.


Step 2: Separate your eggs. Nerd alert: I think separating eggs is fun! :) Put the whites in a medium-sized mixing bowl; put your yolks in a small bowl and scramble them.


Step 3: Heat the milk and butter in a saucepan over medium-low heat, stirring occasionally to mix them and to keep the milk from scalding on the bottom. Bring it just to a simmer.


Step 4: Grow a third arm. In all seriousness, this is the tricky part. Keep stirring the milk/butter occasionally while tempering your egg yolks. If you've never done that before, I'll explain: If you added the egg yolks directly to the hot milk and butter, they would immediately cook, and you'd have scrambled eggs floating in your mixture. I love scrambled eggs, but they do not belong in pie. So, to temper them means to gradually raise their temperature by gradually adding small amounts of the hot liquid. So, add a couple spoonfuls of the hot milk/butter to the egg yolks, and stir to combine. Then add a few more, and a few more, and a few more, always gradually and always stirring to combine. (Keep stirring the hot pot on the stove too! Use that third arm!) When have you done enough? Hard to say. A good hint will be when your mixture containing the egg is steaming. When in doubt, add a few more spoonfuls and get it really hot. When the mixture containing the eggs is good and hot, add it back to the hot pan on the stove.

Sorry there are no pictures of that step. I would have had to grow a fourth arm.

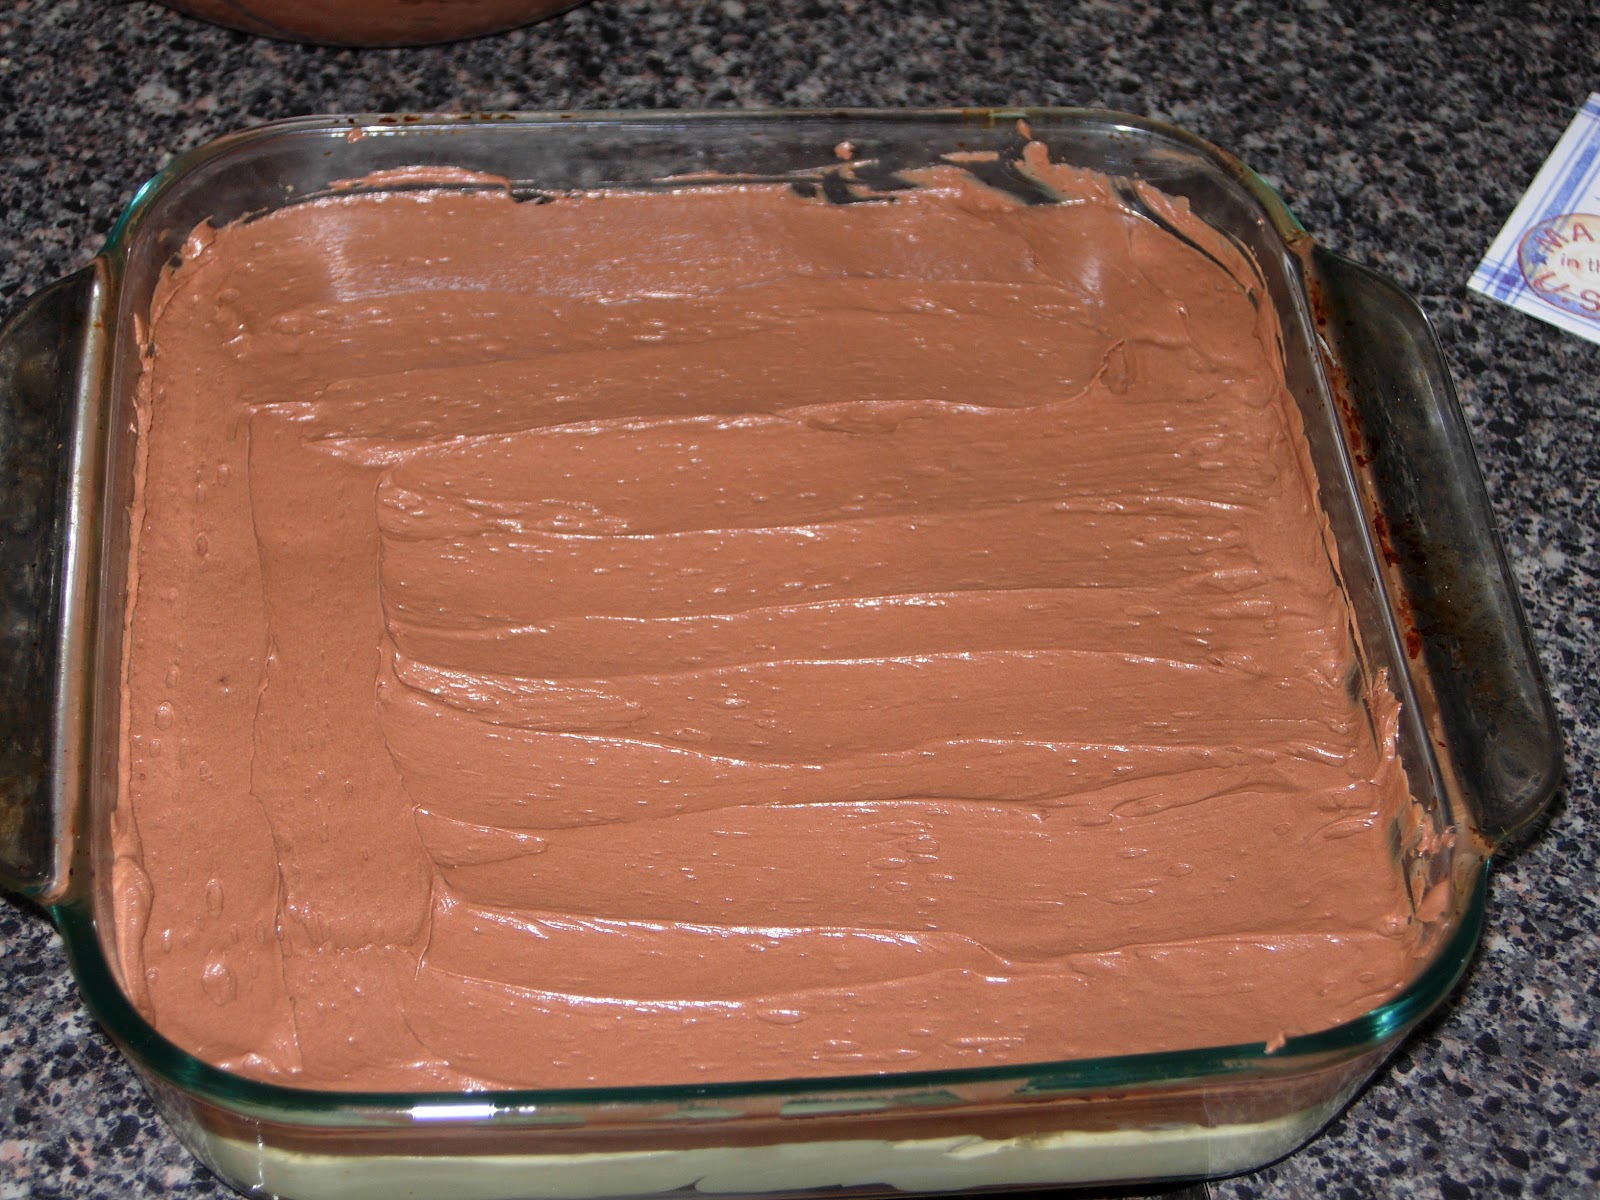
Step 5: Stir in the dry ingredients and vanilla. Stir constantly on the heat until it thickens, about 2-4 minutes. Pour into baked pie crust.


Put it in the fridge to chill and set. Congratulations - you just made pudding without a box mix!

Step 6: Now for the meringue. If you own a stand mixer, I hate you. If you don't, I feel your pain.

Add the remaining half cup of sugar to your egg whites and beat, beat, beat with your mixer on high... and keep mixing... and keep mixing... switch arms... mix some more... until, about 15 minutes later (I clocked it), stiff peaks form.


But it's worth the sore arm! Look at those peaks!

Cover the chocolate pudding layer with the meringue, making sure to seal to the edge of the crust. Chill - both you and the pie - it's done!


Thursday, October 18, 2012

Steak Quesadillas

My apologies for not posting for such a long time. I could use having a new baby as an excuse, but the truth of the matter is that we were incredibly blessed to have many friends bring us meals after the baby was born, so I have done virtually no cooking in the past month. And like a weirdo, I missed it. So it felt good to get back into the swing of things yesterday.

My in-laws are in town, so I used them as guinea pigs for a new take on quesadillas. They turned out AWESOME.


I'm sorry there isn't a picture of a whole quesadilla... we were eating them as soon as they were coming off the heat. There was almost no picture at all, but I remembered halfway through this last one.

Now, I'm a cheapskate. I don't believe in spending any more money than you have too. Most recipes for steak quesadillas call for sirloin steak, but I am just too, well, cheap to buy any. So I bought a couple pounds of top round steak for half the cost and researched ways to tenderize meat.

1. Put the meat in between wax paper or plastic and beat it with a meat hammer. Or, if, like me, you don't own a meat hammer, use a copper-bottom saucepan. Worked great.

2. Cut the meat against the grain. I cut the steaks into very thin strips.


Doesn't it just look tender?

3. Use a marinade that contains acid. Letting the meat marinate in acid helps break down the connective tissue found in tougher cuts of meat. This particular marinade was adapted from Taste of Home, but I made a couple of swaps.

Two pounds fed five adults nicely.

Marinade for Steak
Adapted from Taste of Home

You'll need:
1/4 c lime juice
6 garlic cloves, minced
4 t canola oil
4 t chili powder
1 t cumin
1 t salt
1 t pepper
2 lb sliced steak

Combine the first seven ingredients in a large Ziploc bag. Add the steak, seal, and knead to mix. Refrigerate at least 4 hours, turning every few hours.


To cook the meat, heat a skillet until a drop of water sizzles in it. Empty the bag into the skillet (in smaller batches, if necessary) and cook just a few minutes, stirring often, until meat is browned on all sides. Go a few extra minutes if you like your meat medium-well, but be warned, the longer you cook it, the more you run the risk of drying it out and losing that tenderness.

Now for the quesadillas.

You'll need:
the aforementioned steak
some sauteed onions and bell peppers
your choice of cheeses (I used cheddar and pepperjack)
anything else you want to put in them (this is pretty flexible)
medium-size flour tortillas

Load up half a tortilla, fold it over, and put it in your quesadilla maker. Or, if you don't have one, spray the tortilla lightly with Pam and put it in a hot skillet for a few minutes on each side until the tortilla is crisp and golden and the cheese is melted.


Serve with sour cream, guacamole, salsa, and anything else you like. Yum!

Monday, August 20, 2012

Twice-Baked Potatoes

Common theme for potatoes: cheese and bacon. Awesomeness. I like to make these with ribs because the oven is on anyway. You do have to think ahead a bit, but it's worth it.


Twice-Baked Potatoes
Adapted from the Betty Crocker Cookbook
Serves: flexible

You'll need:
Idaho or russet potatoes (at least one per person, depending on size)
milk
butter (about 1 T per serving) (softened or melted would be helpful but I never remember to do that)
salt & pepper
grated cheddar cheese (about 1/2 c for 4 servings, but I don't measure)
bacon (2-4 strips for 4 servings, depends how much you want)

Pierce the unpeeled potatoes with a fork and bake them at 350 degrees for an hour to an hour and a half, depending on size, until they're tender all the way through.

While the potatoes are baking, fry up your bacon in a skillet until it's crispy. Drain on paper towels and crumble.

When the potatoes are done, let them sit out for a few minutes until cool enough to handle. (Or, if you're impatient like me, just use an oven mitt for this next part.) Turn your oven up to 400 degrees.

Cut each potato in half and use a spoon to scoop out all the soft insides into a bowl. Discard the peels. Using a hand mixer, beat the potatoes and add only a LITTLE milk, very GRADUALLY, using only what's necessary to get them smooth. Depending how big of a batch you're making, this may only be a few tablespoons. You want the potatoes nice and thick. Beat in the butter and salt and pepper to taste. Stir in the crumbled bacon and shredded cheese. Turn the whole thing into a casserole dish and top with a little more cheese, if you want. Bake, uncovered, at 400 degrees for 20-25 minutes until hot all the way through.

(Pictured here with BBQ Pork Ribs)

Wednesday, August 8, 2012

Eclair "Cake"

Ok, so it's not really cake at all. There's no flour, no eggs, no baking at all. (Yes, you read that right - NO BAKE DESSERT.) But I can't figure out a better name for it, so "cake" it shall remain. Now that you know what it's not, here's a description of what it is: layers of chocolate frosting, softened graham crackers, and cream filling that's reminiscent of an eclair, but in a casserole dish for a fraction of the effort. EASY.


Note: all pictures are of a HALF recipe, which I made in a 9x9 pan.

Eclair Cake
From: My mother-in-law, Carol

You'll need:
1/2 box graham crackers
2 sm (4 svg) boxes of instant French vanilla pudding
8 oz Cool Whip, thawed
2 1/2 c milk
1 1/2 c chocolate frosting (I highly recommend this recipe)

Fill a 9x13 casserole dish with a single layer of graham crackers, breaking up the pieces to make them fit as best you can. You may have to break off (and eat) a few corners to make them fit. It does not have to be perfect.


Mix the pudding mix and milk with an electric mixer for a couple of minutes, and then stir in the Cool Whip. Spread over the graham crackers.


Lay another layer of crackers over the top.


Frost with the chocolate icing. Hint: The first time I made this, I had trouble getting the crackers to stay put while I frosted. I recommend starting around the edges, using the frosting to "seal" the edges, and then work towards the center. And of course, thinner/fluffier frosting will be easier to use.


So now you have beautiful layers.


Put it in the refrigerator for 24 hours so the graham crackers completely soften up. I'm telling you, it's so simple, but it tastes AMAZING. And unlike many baked desserts, the leftovers keep for quite a while. :)

Sunday, July 29, 2012

Onion Rings

It feels a bit wrong to label this post as a "vegetable" dish. I don't really know what nutrients are in onions to begin with, but I'm pretty sure there were none in these by the time I ate them. Maybe I should have a category called "Breaded & Deep-Fried"...

It really isn't that often that I go the whole hog and deep fry something, but if you've ever been pregnant, you understand the power of food cravings... power that will even cause you to consume food that you KNOW will give you miserable heartburn. And with no husband home this evening to tell me how gross he thinks onions are (I can't understand him), tonight was the perfect time to cave in and try making my own onion rings for the first time. Behold one of the marvels of the world.


The only problem with this recipe is that it was so easy, I will be tempted to make it FAR too often (kind of like the dangerous chocolate cake in a mug). I can't even explain just how much I adore onion rings. I have already promised myself that when I am no longer pregnant, I will make the whole recipe just for myself. Ahh, bliss.

Ten points for me for remembering to take step-by-step pictures!

Old-Fashioned Onion Rings
From: allrecipes.com

You'll need:

1 large onion, cut into 1/4" slices (I only used half the onion... I felt I was pushing my luck with the heartburn as it was)
1 1/4 c flour
1 t baking powder
1 t salt
1 egg
1 c milk
3/4 c bread crumbs (I used Italian and it was AWESOME. I also skipped the seasoned salt.)
seasoned salt, to taste
oil for frying

Heat your oil in a deep fryer (does anyone really own one of those?) or in a deep saucepan. (I heated mine on medium-low - 3 out of 10, to be exact - and it was perfect. Don't burn your oil. Yuck.)

Separate the onion slices into rings and set aside. Get out a wire rack and put some foil or wax paper under it... trust me.


In a medium bowl, mix together the flour, baking powder, and salt. Dip the onion slices in this mixture until they're coated and set aside.


Using a fork, whisk the egg and milk into the flour mixture. Dip the floured rings into the batter and place on the wire rack to set until the batter stops dripping. (This only takes a minute or two.)


Spread the bread crumbs in a shallow bowl or plate. Dip the battered rings in the crumbs and scoop the crumbs over them to coat.


Deep fry in oil for 2-3 minutes or until golden brown.


Stop drooling. Seriously.

Drain on paper towels.


Season with seasoned salt if you want. Otherwise, grab the ketchup and get busy.


Tomato Basil Parmesan Soup

I saw this on Pinterest and re-pinned it 13 days ago, and I've made it twice since then. That should tell you something. There weren't many steps along the way to take pictures of, so here's the finished bowl of soup:


This is creamy, warm, and flavorful, and perfect for a rainy day... or any day, really. Enjoy.

Tomato Basil Parmesan Soup
Adapted from: This Blog, via Pinterest

You'll need:
2 (14 oz) cans diced tomatoes, with juice (I recommend petite diced)
4 c chicken broth
1 c finely diced celery
1 c finely diced carrots
1 c finely diced onions
1 t dried oregano OR 1 T fresh oregano
1 T dried basil OR 1/4 c fresh basil
1/2 c butter
1/2 c flour
1 c Parmesan cheese
1 t salt
1/4 t black pepper
2 c half & half, warmed (original recipe recommends reducing this to 1 1/2 c. I just used 2 c whole milk instead, and it was plenty creamy)

Put the tomatoes, broth, diced veggies, oregano, and basil in your crock pot. Cover and cook on low for 5-7 hours, or until you just can't wait any more.

Make a roux: True story, I had never done this before. I felt like I was living out a Food Network fantasy. :) Sorry there are no pictures, but it's difficult to take a photo while constantly whisking...

To make the roux, melt the butter over low heat in a saucepan or large skillet. Add the flour and stir constantly with a whisk for 5-7 minutes. Slowly stir in 1 cup hot soup. Add another 3 cups gradually and stir until smooth. Then add the whole mixture back to the crock pot.

Add the Parmesan, salt and pepper, and warmed half & half (or milk) and stir. Cover and cook on low for another 30 minutes.

Serve with crusty bread or a grilled cheese sandwich for delicious dunking. Mmm.


Friday, July 20, 2012

Chipotle Cheeseburgers

Chipotle Dinner, Part II. My mouth waters just thinking about this sandwich... a spicy, rich pairing of two of my favorite food groups: cheeseburgers and Tex-Mex. If that sounds good to you, give this one a try.


Chipotle Cheeseburgers
Adapted from Taste of Home
Serves: 4

You'll need:
up to 1/2 an onion, diced (I used a bit less)
2 T minced fresh cilantro
1 chipotle pepper in adobo sauce
1 t onion powder
1 t garlic powder
1 t seasoned salt
1/4 t ground black pepper
1 lb ground beef
4 buns
Toppings, like tomato, lettuce, sliced cheese (I used cheddar) and... I added Miracle Whip, and it was awesome.

Combine the first seven ingredients.


Crumble the ground beef over that mixture, then dig in with your hands and mix well. Shape into four burger patties.


Whip out your gas grill, George Forman, skillet, or broiler, and cook those burgers.


Serve on buns with your choice of toppings.


I served ours with these chipotle sweet potatoes.

Chipotle Sweet Potatoes

Tonight was Chipotle Dinner night. Two awesome recipes, both from Taste of Home, with similar flavor profiles: a spicy and delicious dinner. Up first: Chipotle Sweet Potatoes.


These tasty tubers are roasted in balsamic vinaigrette and then dressed with an awesome mixture of honey, chipotle peppers, cilantro, and more vinaigrette. Hope you enjoy!

Chipotle Sweet Potatoes
From: Adapted from Taste of Home
Serves: 6-8

You'll need:
4 large sweet potatoes
2/3 c balsamic vinaigrette, divided
1/4 t salt
1/4 t pepper
1/4 c fresh minced cilantro
3 T honey
2 chipotle peppers in adobo sauce, minced

Peel your sweet potatoes and cut them into about 1/2" cubes.


Toss your sweet potatoes with salt and pepper and 1/3 cup of the vinaigrette. Spread them into a single layer on a greased cookie sheet or two.


Bake at 400 degrees for 25-30 minutes until tender, stirring once. Cool slightly. Meanwhile, whisk together the remaining vinaigrette, cilantro, honey, and peppers.


Put your potatoes in a serving bowl, pour the dressing over top, and toss to coat.


Enjoy! I served ours with these chipotle cheeseburgers... fantastic combination!


Tuesday, July 17, 2012

Pancakes

I debated whether or not to publish this recipe, but it has come to my attention that some people (a) actually don't know how to make good pancakes, or (b) actually buy Bisquick. Allow me to be very opinionated for a moment: Bisquick does not make real pancakes. It is expensive. You say it's convenient - I say, give this recipe a try. I guarantee you have all these ingredients in your kitchen right now, and if it takes you longer to make the batter than it does to heat the griddle, you need to get in that kitchen more often! :)


Pancakes
From: My mother-in-law, Carol, adapted from the Betty Crocker Cookbook
Makes: 8-10 6" pancakes

FIRST: PREHEAT YOUR GRIDDLE. If your griddle is still heating up while you pour the batter, you pancakes will be WEIRD.

Mix together your dry ingredients:
1 c flour
1 T sugar
1 T baking powder
1/2 t salt

Whisk in:
1 egg
2 T vegetable oil
1 c milk

(Did you notice that you only need 3 measuring cups/spoons? That makes me happy. Anything to cut down on the number of dishes!)

Pour your batter onto your PREHEATED griddle, like so.


You'll know it's time to flip when the edges are dry and the big bubbles on top are popping, like this:


Flip those babies over and use the spatula to push down on them gently. My husband, the pancake connoisseur, has reprimanded me for neglecting that little move.


In about two more minutes you have gorgeous (albeit naked) pancakes.


Let's dress those up a bit.


Breakfast for dinner - always a hit with the family! Rebecca sure likes them.


Feel free to toss in a few blueberries while your batter is on the griddle - because the only thing better than pancakes is blueberry pancakes. Or, cover and refrigerate the batter you didn't use at dinner... wait until the kiddos are in bed... and break out the chocolate chips.


Mmmm... dessert.


Hope that helped someone out there. Because life without good pancakes is no life at all.