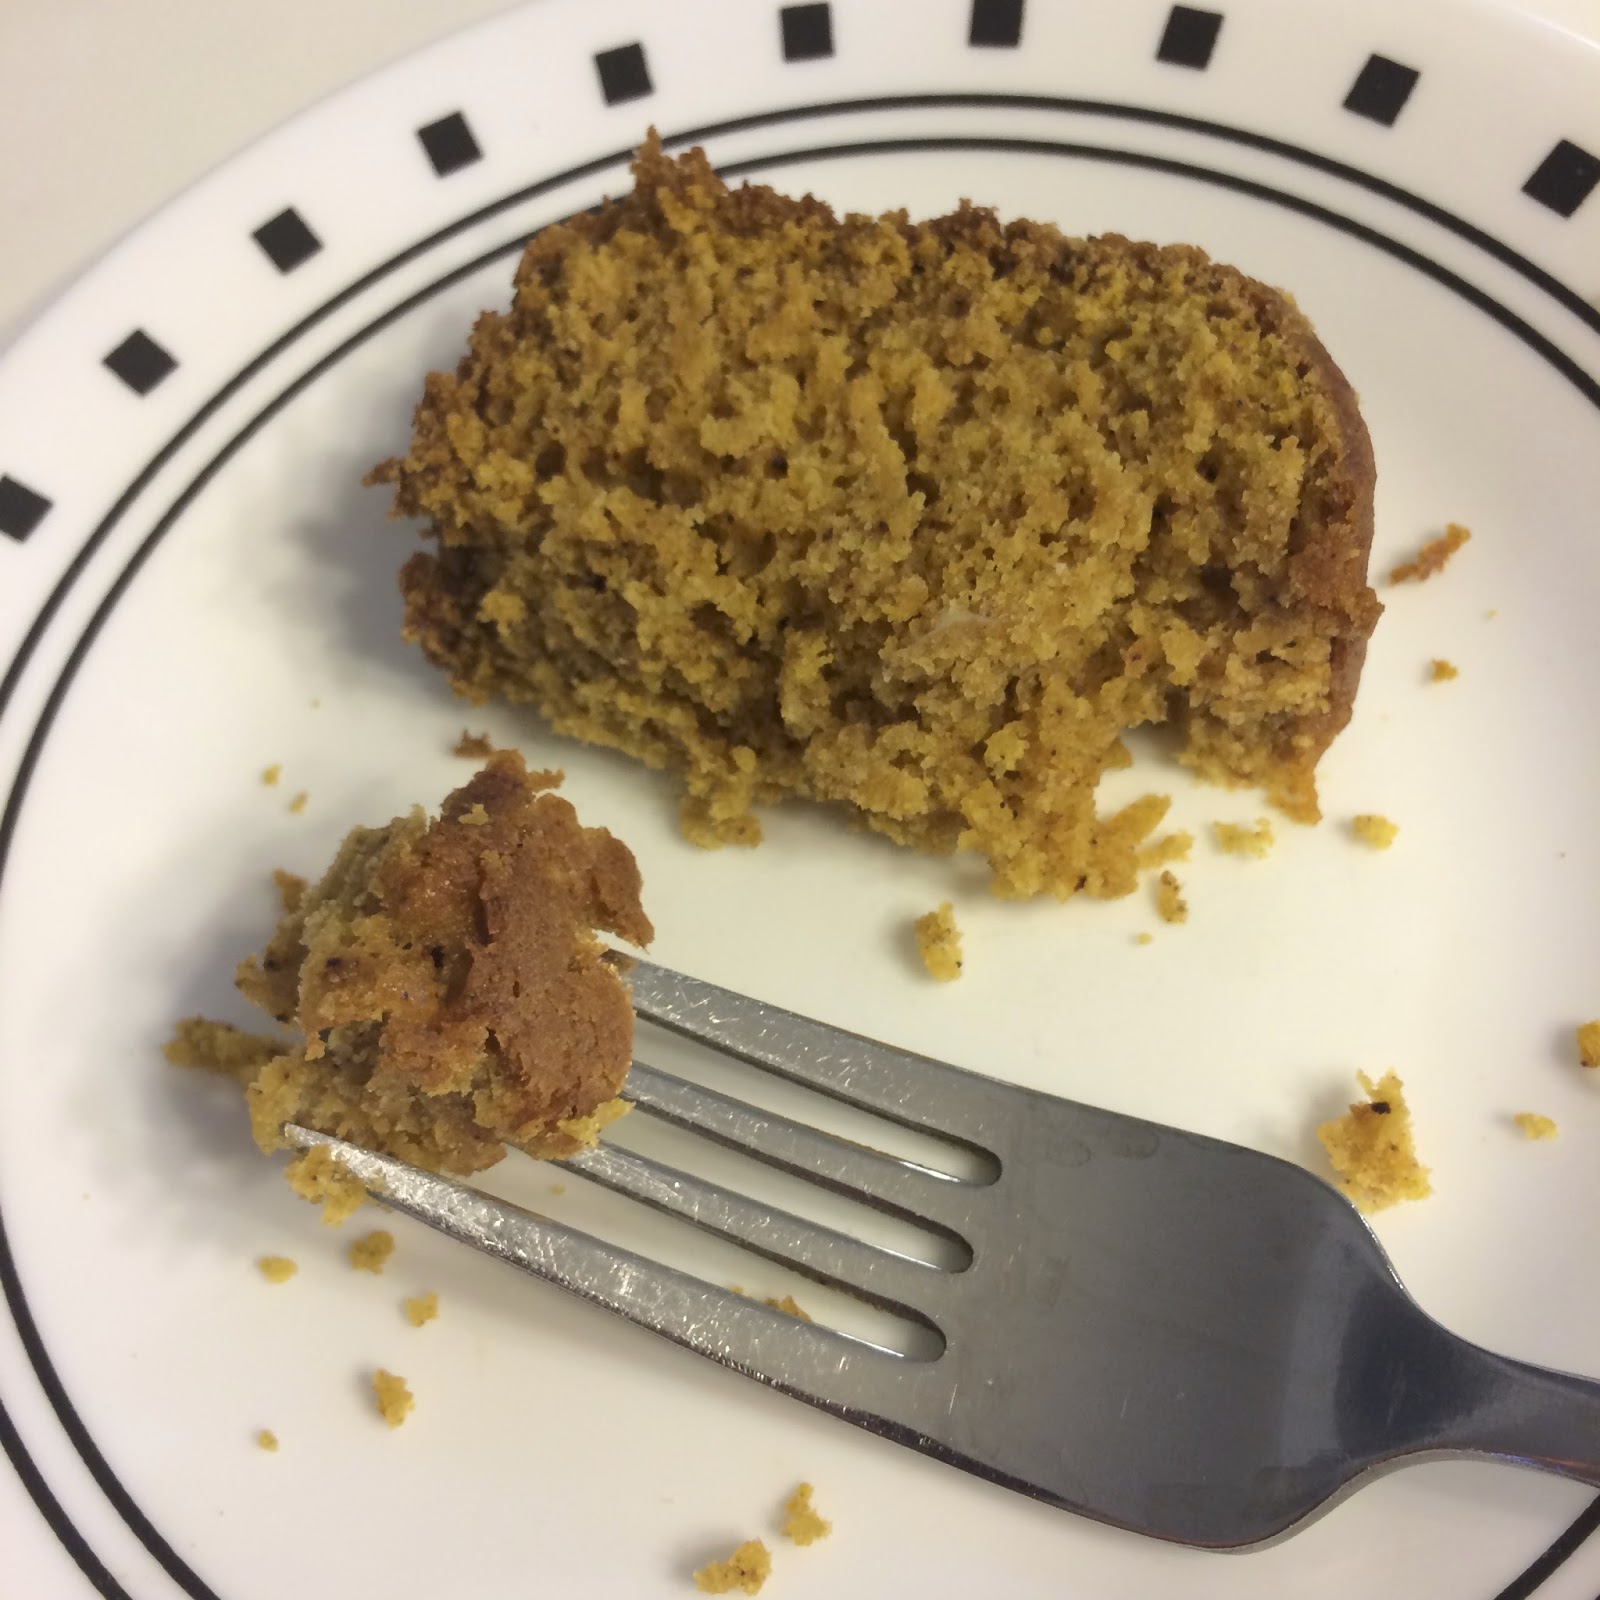
Monday, March 14, 2016

Peanut Butter Cup Pie


Happy Pi Day!

Pi Day is a holiday of epic proportion in the Husband's office, with each employee contributing to the festivities. But it doesn't matter what kind of pie those other people made. This year, mine takes the cake. (Pie?)


There is is. A peanut butter pi masterpiece.


And beneath the shiny chocolate exterior? Creamy peanut butter filling and Oreo crust. Ready to dive in?

Peanut Butter Cup Pie
Adapted from Kraft magazine
Makes: One 9" pie

You'll need:
1 (8 oz) package of cream cheese, softened
1/2 c + 1 T peanut butter, divided
1 c milk
1 (3.4 oz) package instant vanilla pudding
2 1/2 c thawed Cool Whip, divided
3 oz semisweet baking chocolate
1 oreo pie crust

Yes. I cheated. I used a pre-made crust. I don't feel great about it, but it is what it is. Let's move on.

Beat your soft cream cheese and 1/2 cup of the peanut butter until well blended. Add the pudding mix...


... and the milk. Beat on slow for a few seconds to incorporate the liquid, then beat on high for about two minutes. (Don't go directly to "high" unless you want to wear some peanut butter. Although the Husband did say that I smell good.)


Gently fold in 1 cup of the Cool Whip.


Turn the filling into the pre-made crust...


... and spread it smooth.

I forgot to take a picture. Use your imagination.

Put it in the fridge to start chilling. 

In a small bowl, place the baking chocolate and remaining 1 1/2 cups of Cool Whip, and put it in the microwave.

What?! 

Yes. I know this seems weird. Especially since the Cool Whip label literally says "DO NOT MICROWAVE." The first time I made this was a bit of a trust exercise. Just hang with me for a minute.

Microwave it for 1 minute. It will now look like this.
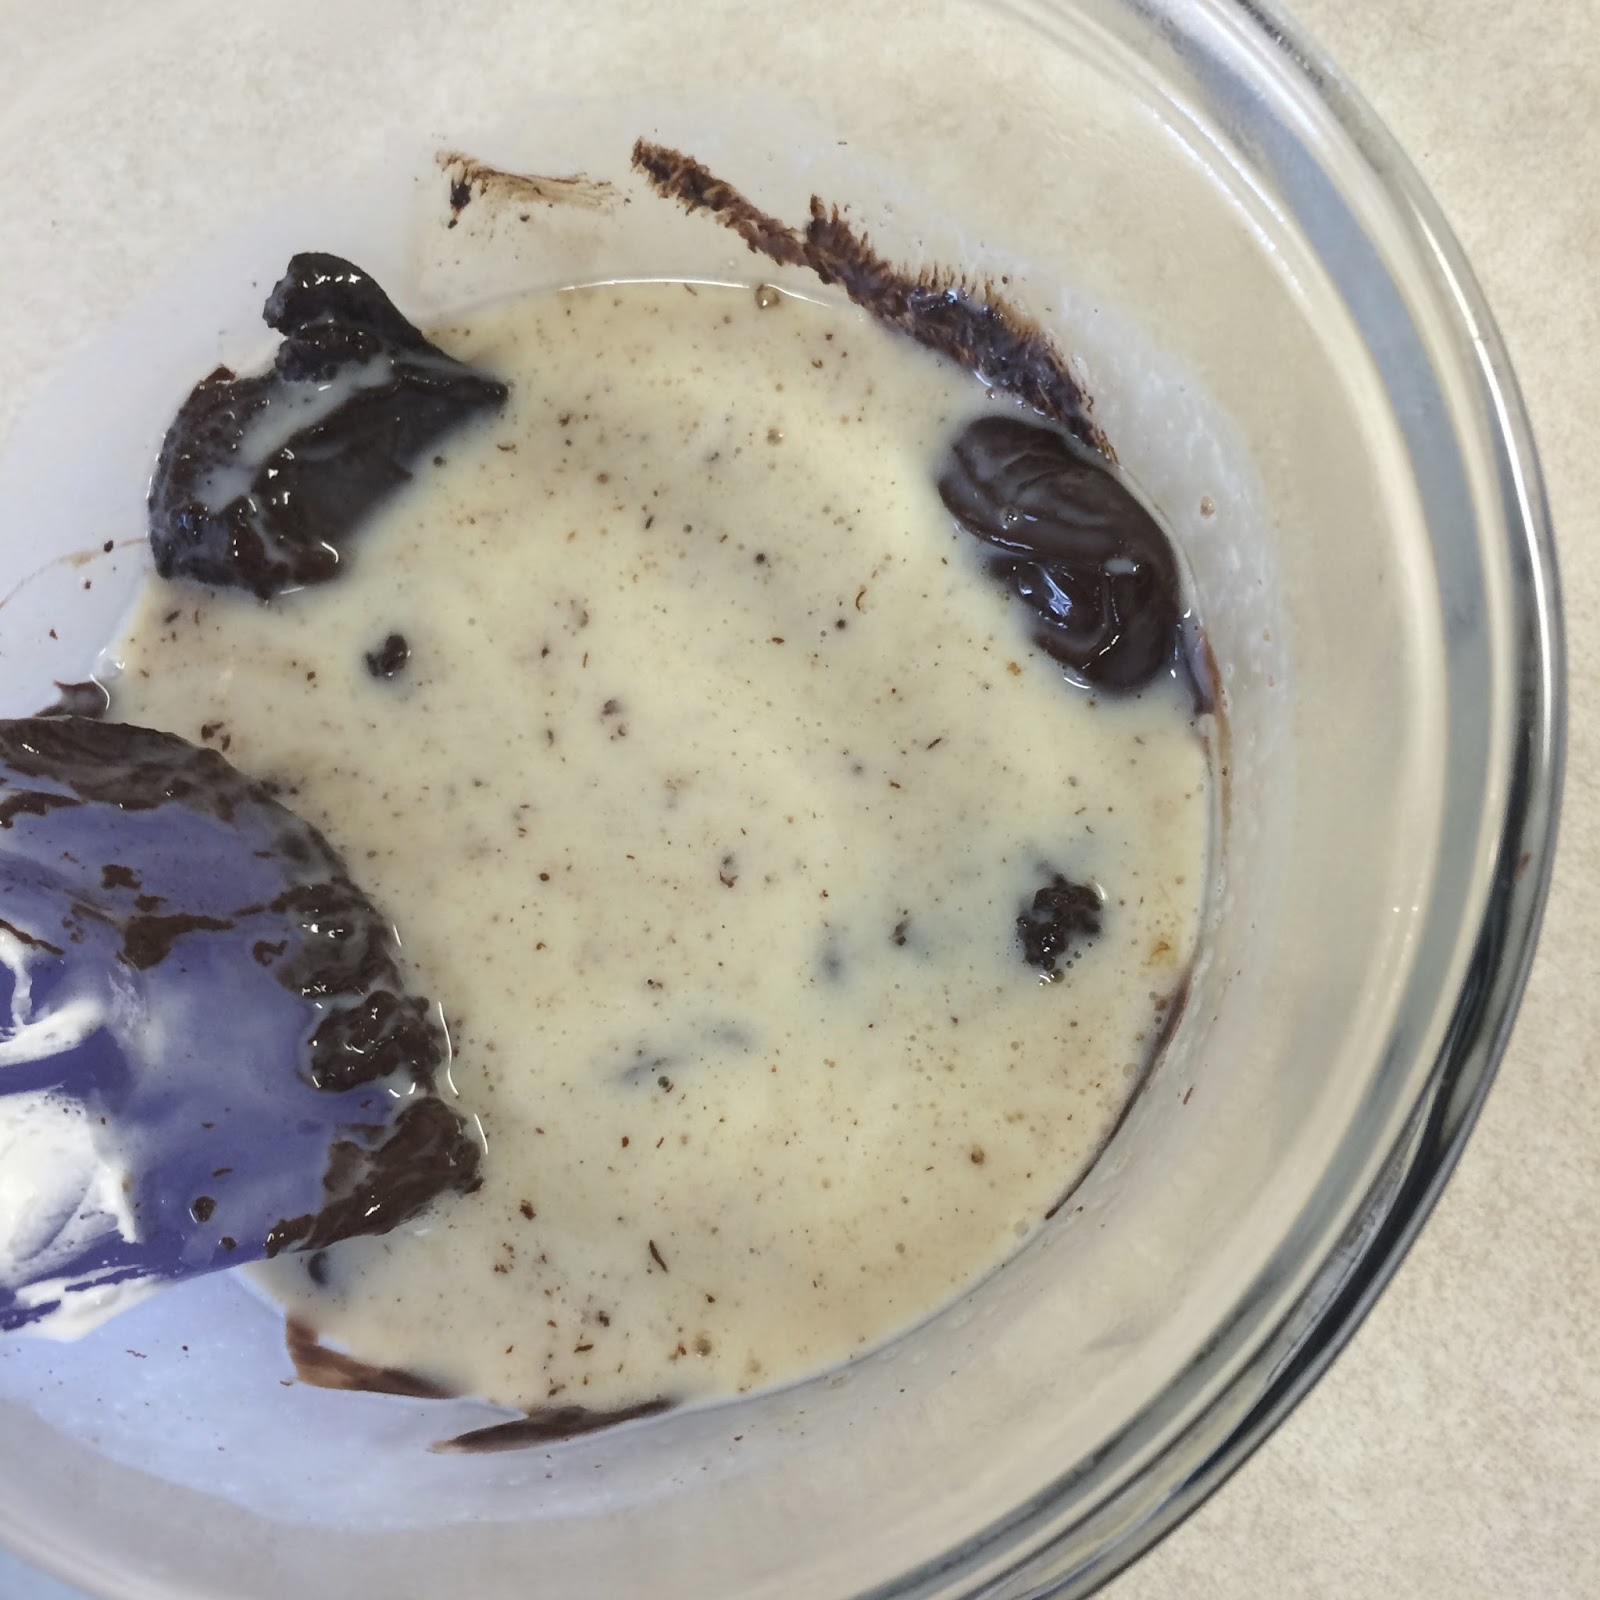

Appealling, right? The Cool Whip collapses into a puddle. But start stirring...


... and it becomes a smooth, chocolate gel. Microwave an additional 15-30 seconds if you still have lumps of chocolate, and stir til smooth. Let it cool for a couple of minutes, and as soon as it's no longer hot, pour/spread it over your pie.


Glistening chocolate. Aaaah. And we're not even done yet.

Put that last spoonful of peanut butter into a microwave-safe bowl and microwave for 30 seconds. Use a spoon to drizzle it artistically over your pie, OR spoon it into a piping bag and decorate.


Easy as pi. Refrigerate for at least 4 hours before serving so the filling is nice and stiff. 

Have a wonderful Pi Day!

Sunday, March 13, 2016

Chocolate Buttercream Icing

In case my position wasn't clear, I'm a big fan of real food. I'm not adamant to the point of madness. I'm not on a crusade against processed foods. I still love Cheetos and Diet Mountain Dew. But I do believe that making as much of your food as you can from real ingredients (1) is better for you and (2) just plain tastes better. One of the best examples? Buttercream frosting.


Now. I'm not trying to brag, because I didn't come up with this recipe myself. But I have only tasted frosting better than mine a few times in my life. I'm perfectly serious. That stuff on the grocery-store-bakery cake and in the jar on the shelf on the baking aisle simply cannot compare to real, homemade buttercream. For every birthday cake, I get rave reviews and people wanting to know my secret. There's no secret. Just real food.


That stuff in the jar? It contains preservatives, artificial flavors, and some stuff I can't even pronounce. This recipe? Five ingredients. And about five minutes. 


Real food. And seriously the best buttercream you've ever had.


(Also... I love decorating cakes.)  :)

Chocolate Buttercream Icing
From: Hershey (I believe the recipe was, at one time, printed on the baking cocoa label)
Makes: 3 cups (enough to generously frost a 9 x 13" cake OR two 8" or 9" round cakes)

You'll need:
6 T SOFT butter*
Cocoa: 1/3 c for light flavor
            1/2 c for medium flavor (this is what I usually use)
            3/4 c for dark flavor
2 2/3 c powdered sugar
1/3 c milk
1 t vanilla

*Softening the butter ahead of time is key. If your butter is melted, the texture will be off, and if your butter is cold, you'll get lumps of butter in your icing. Just set your butter on the counter for a few hours before you start.

Beat the butter on medium speed until fluffy.


Beat in the cocoa and powdered sugar alternately with milk, using only as much milk as necessary to get a nice spreading consistency. (I typically use all the milk because soft icing spreads easier.) Make a powdered sugar mess on your counter and on the dog who's lurking at your feet. Blend in vanilla.


Lick beaters. And spoon. And another spoon. And bowl.


 Use a silicone or metal spatula to spread icing onto your cake, cupcakes, or a graham cracker. (Try it!) Freeze your leftovers for another day. (That is, if you have any left over.) And for more fun with real food, check out my original buttercream icing recipe.


Enjoy!

Thursday, March 10, 2016

Apple Crisp

Like most of you, I have a repertoire of desserts that can be whipped up at a moment's notice with pantry staples that are always on hand. When you have unexpected company or just a sudden sweet-tooth craving at 8:00 pm, you mentally run through the list: What can I make with what I have? This recipe has been on that list for years and never disappoints. As a person who is deeply devoted to chocolate, I have to say that this is one of the most satisfying non-chocolate desserts I can imagine.


Gooey, baked apples topped with a sweet, spiced crunch? What could be better? Except, perhaps...


... topping it with freshly whipped cream?

Be still my heart.

Note: this recipe is super easy to cut in half, making a small pan just for you and your special someone.

Apple Crisp
Adapted from the Betty Crocker Cookbook
Serves: 4-6

You'll need:
4 medium apples (I've used Golden Delicious, Gala, Granny Smith...)
2/3 c packed brown sugar
1/2 c flour
1/2 c quick-cooking or old-fashioned oats
1/3 c butter, softened
1 t ground cinnamon
1/2 t ground nutmeg
Heavy (whipping) cream and powdered sugar OR vanilla ice cream, for topping

Preheat the oven to 375 degrees, and grease the bottom and sides of an 8 x 8" pan with shortening or non-stick cooking spray. (For half recipe, use a smaller pan.) While the oven is preheating, peel and thinly slice your apples.


Spread them evenly in the prepared pan.


In a separate bowl, combine the brown sugar, flour, oats, butter, and spices.


I don't use a pastry blender, just a mixture of stirring and mashing with a spoon to achieve this:


Spoon the topping over the apples.


Bake uncovered for about 30 minutes, until the topping is browned and the apples are fork-tender.


While this is cooling for just a few minutes, grab your heavy cream and a little powdered sugar (I use only a tiny amount; the apple crisp is plenty sweet) and throw it in your stand mixer. Crank it up to high for a minute or two until you have stiff peaks. Divide the apple crisp into your bowls...


... and top generously with whipped cream (or ice cream) while still hot... and watch it melt.


Wednesday, March 9, 2016

Chili-Rubbed Skirt Steak with Creamy Chili Sauce

Man, I love steak.

Who doesn't love a great, flavorful piece of beef? But due to the fact that steak is about five times more expensive than chicken or pork, we don't eat it much. Steak on the grill is usually reserved for special occasions, like birthdays and anniversaries (or buying a new grill). But I've been educating myself lately on various cuts of steak that are far less expensive than sirloin, like flank steak and skirt steak. It only takes a little know-how to keep that inexpensive cut of meat tender - tender enough that the five- and three-year-olds devoured it and couldn't stop talking about it. And with my husband's grill skills and a little help from Martha Stewart, we can now have a steak dinner with some regularity... and a WHOLE LOTTA FLAVOR.


It felt like we were eating in a restaurant.

The creamy chili sauce was originally intended as a dressing for a romaine heart salad, which I'm sure would be delicious. I repurposed it as a dipping sauce for my steak, because every good meat needs a good sauce, and my roasted sweet potatoes, which I coated in most of the same spices as the meat. The three-year-old used it as a dipping sauce for her steak, sweet potatoes, zucchini, fork, and fingers. And I used the leftovers with some raw veggies for lunch the next day. Yum.

Chili-Rubbed Skirt Steak with Creamy Chili Sauce
Adapted from Martha Stewart Living's cookbook, "Great Food Fast"
Serves 4

For the meat, you'll need:
2 t chili powder
1 t ground coriander
1 t brown sugar
1/2 t dried oregano
1 1/2 t salt
1/4 t black pepper
1 1/4 - 1 1/2 lb beef skirt steak, cut into 4 pieces
1-2 t olive oil

For the sauce, you'll need:
1/4 c sour cream (regular or low-fat)
2 T mayonnaise
2 T lemon juice
1 t chili powder
1/2 t garlic powder
salt and pepper

Combine all the spices for the steak's dry rub. Coat the steaks evenly with a thin coating of olive oil, then the spice mixture, patting to keep it in place.


There aren't a whole lotta pictures here, because there weren't a whole lotta steps.

You can broil your steaks for 5-8 minutes, or grill them over very high heat for about 2 minutes per side for medium rare steaks. DO NOT overcook this cut of meat or it will get very chewy. Once cooked, place the steaks on a plate or platter and cover loosely with foil; let them rest about 10 minutes before slicing. If you slice the meat as soon as it comes off the heat, all the juices will end up on your cutting board, and the meat will be dry. Resting the meat gives the juices a chance to settle back into the steaks, keeping them moist and tender.

When it's time to slice the meat, be sure and cut against the grain. The grain is very obvious on skirt steak, so once you see it, cut perpendicular to it.

For the sauce, combine all the ingredients and season with salt and pepper to taste.

Tuesday, March 8, 2016

Cornflake Chicken Strips

Who doesn't love chicken fingers? As soon as kids are old enough to chew, it tends to be a favorite, and a classic that adults love to come back to. 


Of course, the best ones are the ones that just came out of a deep fryer, but in the interests of not frying something at every meal (as tempting as it is), I went looking for a nice crunchy baked alternative. Bread crumbs just do not get crispy in the oven. The laws of physics just won't allow it to happen. Corn flakes, however, have a nice crunch to them, especially when drizzled with a smidgeon of oil, and they have great flavor to boot.


This recipe is easy to scale up or down to feed just a couple of people or a crowd. Just don't crowd your baking sheet so they stay nice and crunchy!

Cornflake Chicken Strips
Adapted from food.com
Serves 4

You'll need:
2 1/2 cups cornflake crumbs (this is important: measure AFTER they're crushed!)
1/4 c flour
1/2 t seasoning salt, like Lawry's
1/4 t pepper
1 egg
1/2 T water
4 chicken breast fillets, cut crosswise into about 1" strips
olive oil

Preheat the oven to 400 degrees. Finely crush the cornflakes (I like to use a plastic bag and a rolling pin), then measure them, and combine with the flour, seasoning salt, and pepper.


In a separate bowl, beat the egg and water. Set up your breading station.


Dip each chicken strip in the egg, then dredge in the cornflake mixture, pressing firmly to make the crumbs adhere. Place the strips on a baking sheet.


Yes, I could have done a better job crushing my cornflakes. I'm impatient.

Drizzle a tiny amount of olive oil on each strip (a few big drops on each one will do it).


Bake for 20-30 minutes, depending on the size of your strips. I'd recommend starting at 20 and check for doneness; you don't want to bake these to death or they will be dry, dry, dry.


And there you go. Wasn't that easy? Serve with mashed potatoes and barbecue sauce, or sliced on a salad with honey mustard, or toss with hot sauce and dip in ranch dressing... Be creative.


Monday, March 7, 2016

Microwaved Chocolate Chip Cookie for One

Some days, you just need a chocolate fix. Some days it's the mid-afternoon slump. Some days it's a bedtime snack. And some days, sadly, you don't have any chocolate chip cookie dough around. And some days, you don't have the energy to make up a whole batch.

This is the recipe for those days.


Talk about low-fuss: All you need is a microwave-safe mug, bowl, or ramekin, and one measuring spoon. (I'm a big believer in not making any more dishes than absolutely necessary.)

And while this is certainly indulgent, it won't give you an instant heart attack or send you into diabetic shock like some of those cake-in-a-mug recipes. Just the exact right amount of spoiling yourself with a little sugar, a little butter, and a little chocolate. The texture is obviously not going to be exactly like a cookie - it's slightly cakier (that's a word, right?) - but it's plenty moist and tastes amazing.

Microwaved Chocolate Chip Cookie for One
Adapted from this blog
Serves: one. Unless you're very kind and want to share.

You'll need:
1 T butter, melted
1 egg yolk
1 T sugar
1 T brown sugar
4-5 drops vanilla extract
pinch of salt
1/4 c flour
2 T chocolate chips


In your microwave-safe mug, bowl, or dish, melt the butter. Add the egg yolk, sugars, and vanilla, and mix.


Add the pinch of salt and flour (use that 1 tablespoon measuring spoon 4 times = one less dish to wash!) and stir in.


It will seem at first that the flour won't absorb but just keep stirring - it'll turn into nice, sticky dough in just a second.


Last, add the chocolate chips. Spread the dough relatively smooth and pop it in the microwave.


Depending on your microwave, your cookie will be done in 40-60 seconds. It will take a little trial and error to figure out the timing in your microwave, so start with 40 and add time as necessary. My microwave takes 48 seconds to turn that dough into this.


Voilá. One dish, one spoon, one measuring spoon, and just a few minutes to yield a perfect gooey little chocolate fix. Make sure to let it cool a few seconds so you don't burn your mouth.

(For extra indulgence... try topping it with a scoop of ice cream.)

Saturday, March 5, 2016

Pumpkin Bread

I absolutely love homemade breakfasts that can be prepared the afternoon or night before because, well... mornings are not my thing. I can muster the energy for oatmeal or toast on a school day, and pancakes or muffins on the weekend, but getting up at 6 to bake... Let's just say I have other gifts, and early-morning baking (or early-morning anything, really) is not on the list.

Which brings me back to bake-ahead breakfasts, like this soft, delectable pumpkin bread. I'm sure everyone has had a bad experience with some kind of quick bread: maybe a Christmas gift from a well-meaning neighbor, maybe it showed up at a pitch-in... and initial excitement gives way to disappointment as you realize it is less than flavorful, and often so dense and dry that it sucks all the moisture from your mouth. Oftentimes people cheat by throwing in chocolate chips in the hopes of resurrecting a bad recipe. (Chocolate chip banana bread... chocolate chip zucchini bread... chocolate chip pumpkin bread... You get the idea.) And while normally I'm in favor of adding chocolate to almost anything, this recipe doesn't need it. So soft, so moist, so delicious, substantial without being dense... This is what a quick bread is supposed to be.


Pumpkin Bread
From: Grandma Esther
Makes: one 9 x 5" loaf

You'll need:
1 3/4 c flour
1 t baking soda
3/4 t salt
1/4 t baking powder
1/2 t cinnamon
1/2 t ground cloves
1/3 c shortening
1 1/3 c sugar
2 eggs
1/2 can (approx. 15 oz can) canned pumpkin (NOT pumpkin pie filling) (see note)
1/3 c water

In a small mixing bowl, combine the flour, baking soda, salt, baking powder, cinnamon, and cloves, and mix well. Set aside.


In a mixing bowl, using an electric mixer, cream the shortening and sugar. I always think... "snow!"


With the mixer on low, blend in the eggs, pumpkin, and water, scraping sides as needed.


Add the dry ingredients by stirring them in OR using the mixer on its lowest setting for a few seconds and then finish by manually stirring. Do NOT overmix the batter.


Pour into a well-greased loaf pan and spread evenly.


Bake at 350 degrees for 55-65 minutes, until a toothpick inserted in the center comes out dry.


Cool in the pan for 10 minutes. Run a knife or thin spatula around the edges, then remove from the pan and cool completely on a wire rack.


Note: if you don't want to make two loaves at a time, just put the other half of the can of pumpkin in a resealable bag or container and freeze it. Just make sure it's thawed completely before using it to bake.


Store at room temperature in a sealed container.